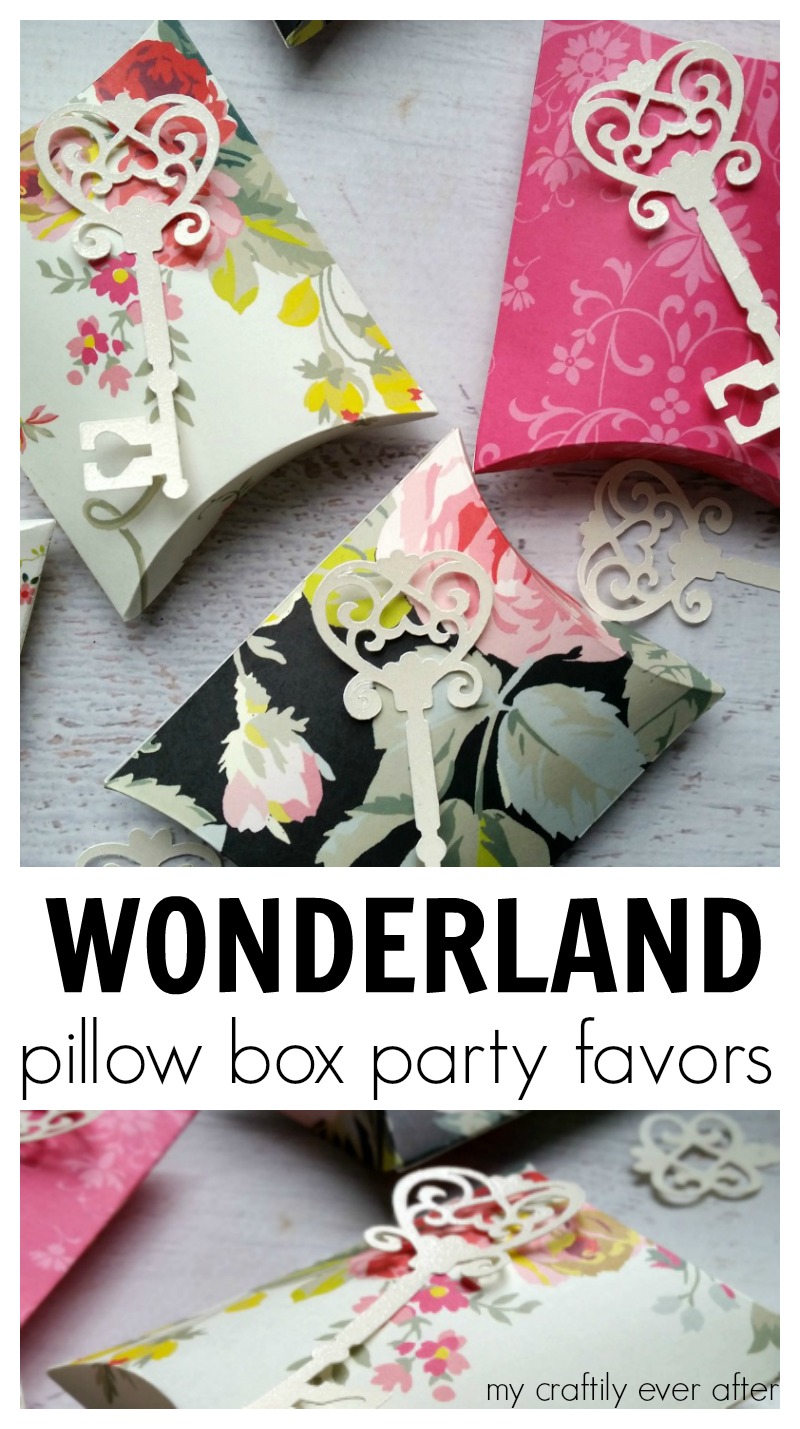
My littlest daughter turned five last fall, which if you follow along with my crafty adventures you might have already known. I shared these amazing Wonderland inspired invitations a couple weeks ago and today I am going to show you how I made the party favors for her party. Lucky for me, I was able to make A LOT of the decorations and party prep over the summer before school started back up and my life got crazy.
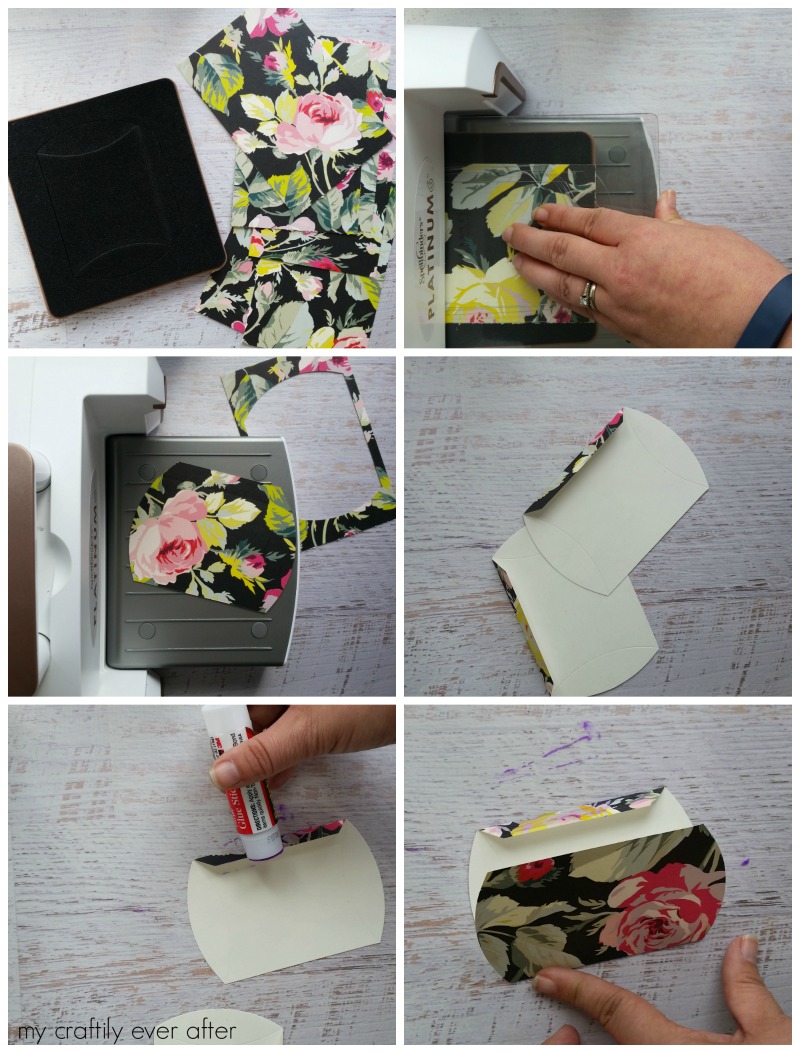
I have been absolutely loving my new Spellbinder Platinum machine. It is super compact, and folds up so it takes up almost no space to store when I am not using it. Plus, it comes with a millionty different dies so if you can dream it up, the Platinum can cut it for you.
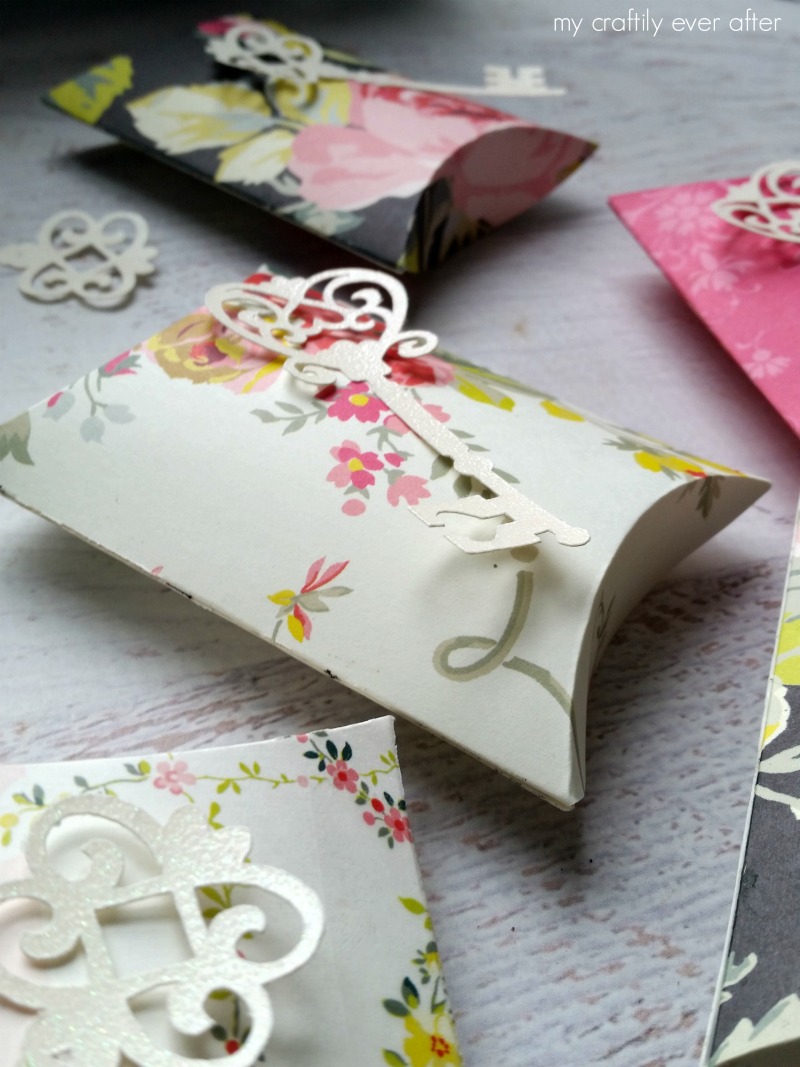
I started off by cutting the pillow box shapes out of what might be the most beautiful paper I’ve owned. I am absolutely in love with the florals and colors and everything. I might have been a little confused about how to use this specific die, so I went ahead and made you a video and it’s down at the bottom of this post! What the what!
Okay, so now that we’ve made all the pillow boxes it’s time to fill them and give them all those finishing touches that make them over the top amazing. I like to do a mix of sweet treats and fun stuff. You might remember when I made some floral bird temporary tattoos a while back, well I decided to run another set of those off for her party! Once those were printed out and ready to go I popped a couple in each favor box. Then I filled them the rest of the way up with candy.
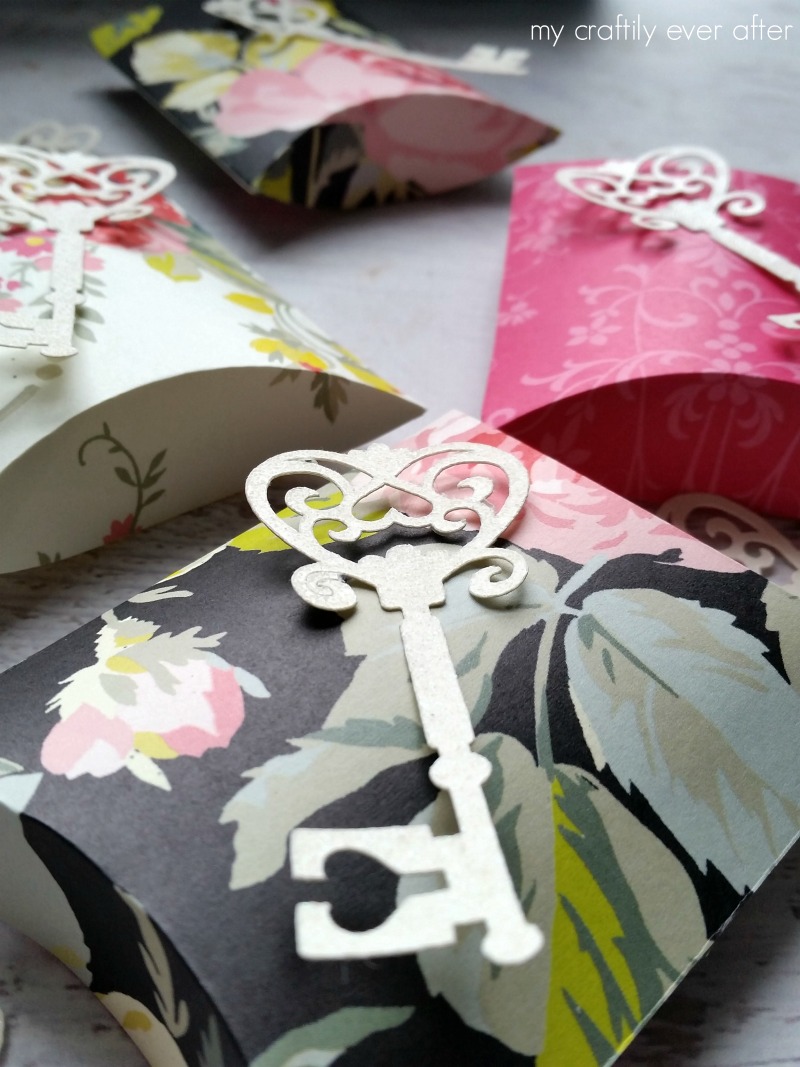
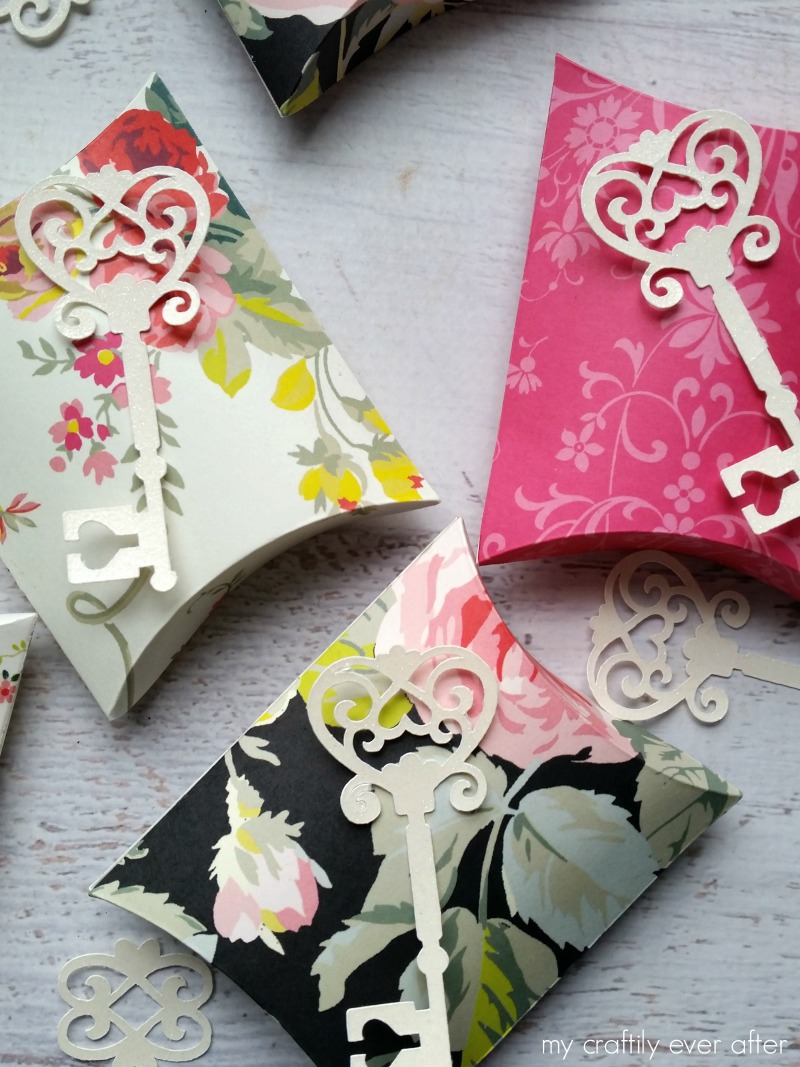
After they were filled with all their goodness it was time to finish them off. used a tiny dot of glue to attach these awesome skeleton keys that I cut out of glitter card stock. Don’t worry, I’ve got ALL the resources you’ll need below!
RESOURCES
- Spellbinders Platinum 6
- Pillow Box Die
- Floral Paper Stack – Anna Griffin Grace collection now out of stock
- Tattoos
- Skeleton Keys: Cricut Design Space™ #M3F288 & #M3DC32
This is a sponsored conversation written by me on behalf of Spellbinders. The opinions and text are all mine.
