Around our house I have started a handmade holiday tradition. This means that for Christmas (and some other special days) the only gifts I give are ones that I have made. Last Christmas I made my brother in law a set of Seattle Seahawks tile coasters (if you want a set you can order them from my etsy shop– i can do any theme you like) and my husband talked about them for weeks (or months…or he is still talking about them now). I knew that for father’s day I wanted to make him something like that and I also wanted to give him something that he could take to work to make his office more homey and a more fun place to spend 50 hours a week. Thus this idea was born! I already make and sell lots of varieties of magnets, but I wanted to try my hand at making some small tile magnets as well. I took a trip to my local ReStore (which is like a total joke compared to the real one in the nearest city) and wouldn’t you know it, they had a huge box of small square tiles for $10. So I quickly snapped it up and brought it home.

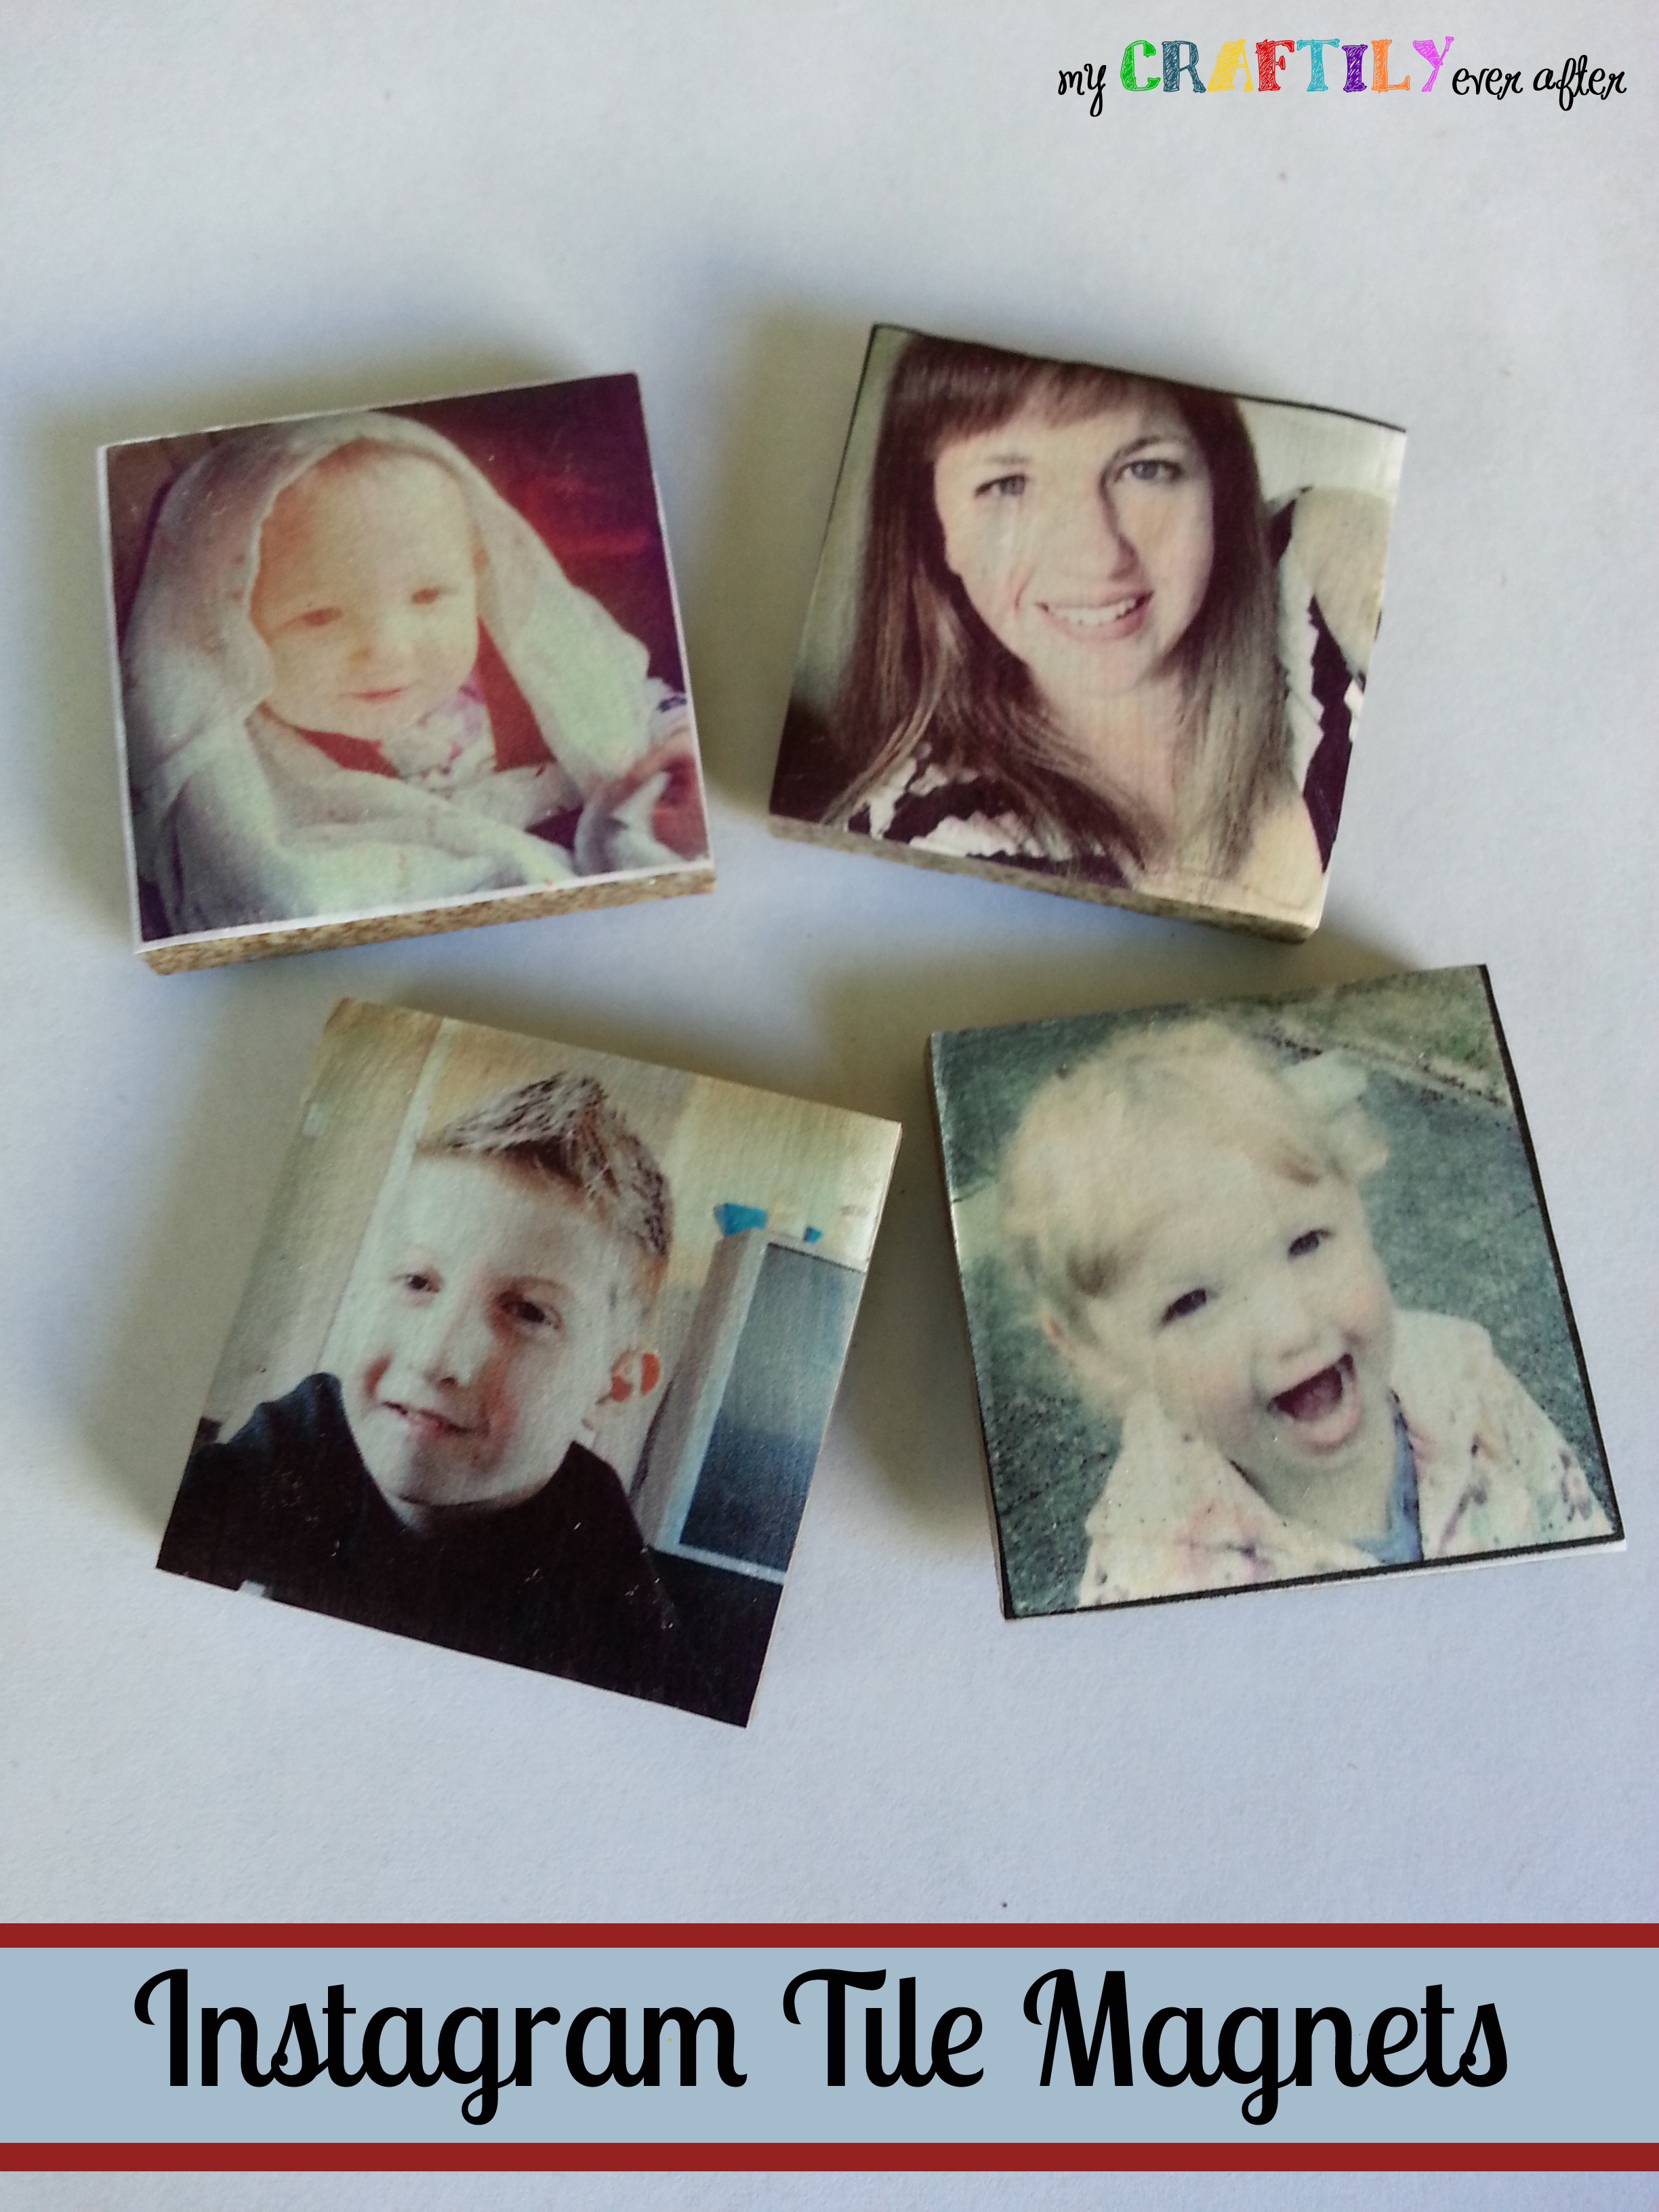
Then it was time to get my images ready. Now I am also a huge fan of anything that uses instagram photos! I love how fun the filters are and the square shape with a border has me hooked! I measured my tiles and they were just under 1 1/2″ so I sized all my images (the four Seahawks ones and the four instagram pics) to 1 1/2″ squares. Then I printed them on my home printer and cut them out. I didn’t need them to be super sharp and crisp so I printed them on regular old paper. I like the way that it adds a little vintage charm to them!

Once your images are cut out and your tiles are clean, apply a thin coat of mod podge onto the tile and lay your image down on top. make sure you are careful to pay attention to where the edges are since you will be trimming off a little bit later. After all your images are down give the mod podge a while to dry and then brush another coat over the top. Don’t worry when it looks white and milky and you think you have ruined your hard work. It dries totally clear and helps to protect the paper. If you want to go the extra mile you can spray them with a clear coat protector, but since these were going to be magnets on the fridge and not coasters I didn’t worry about it!

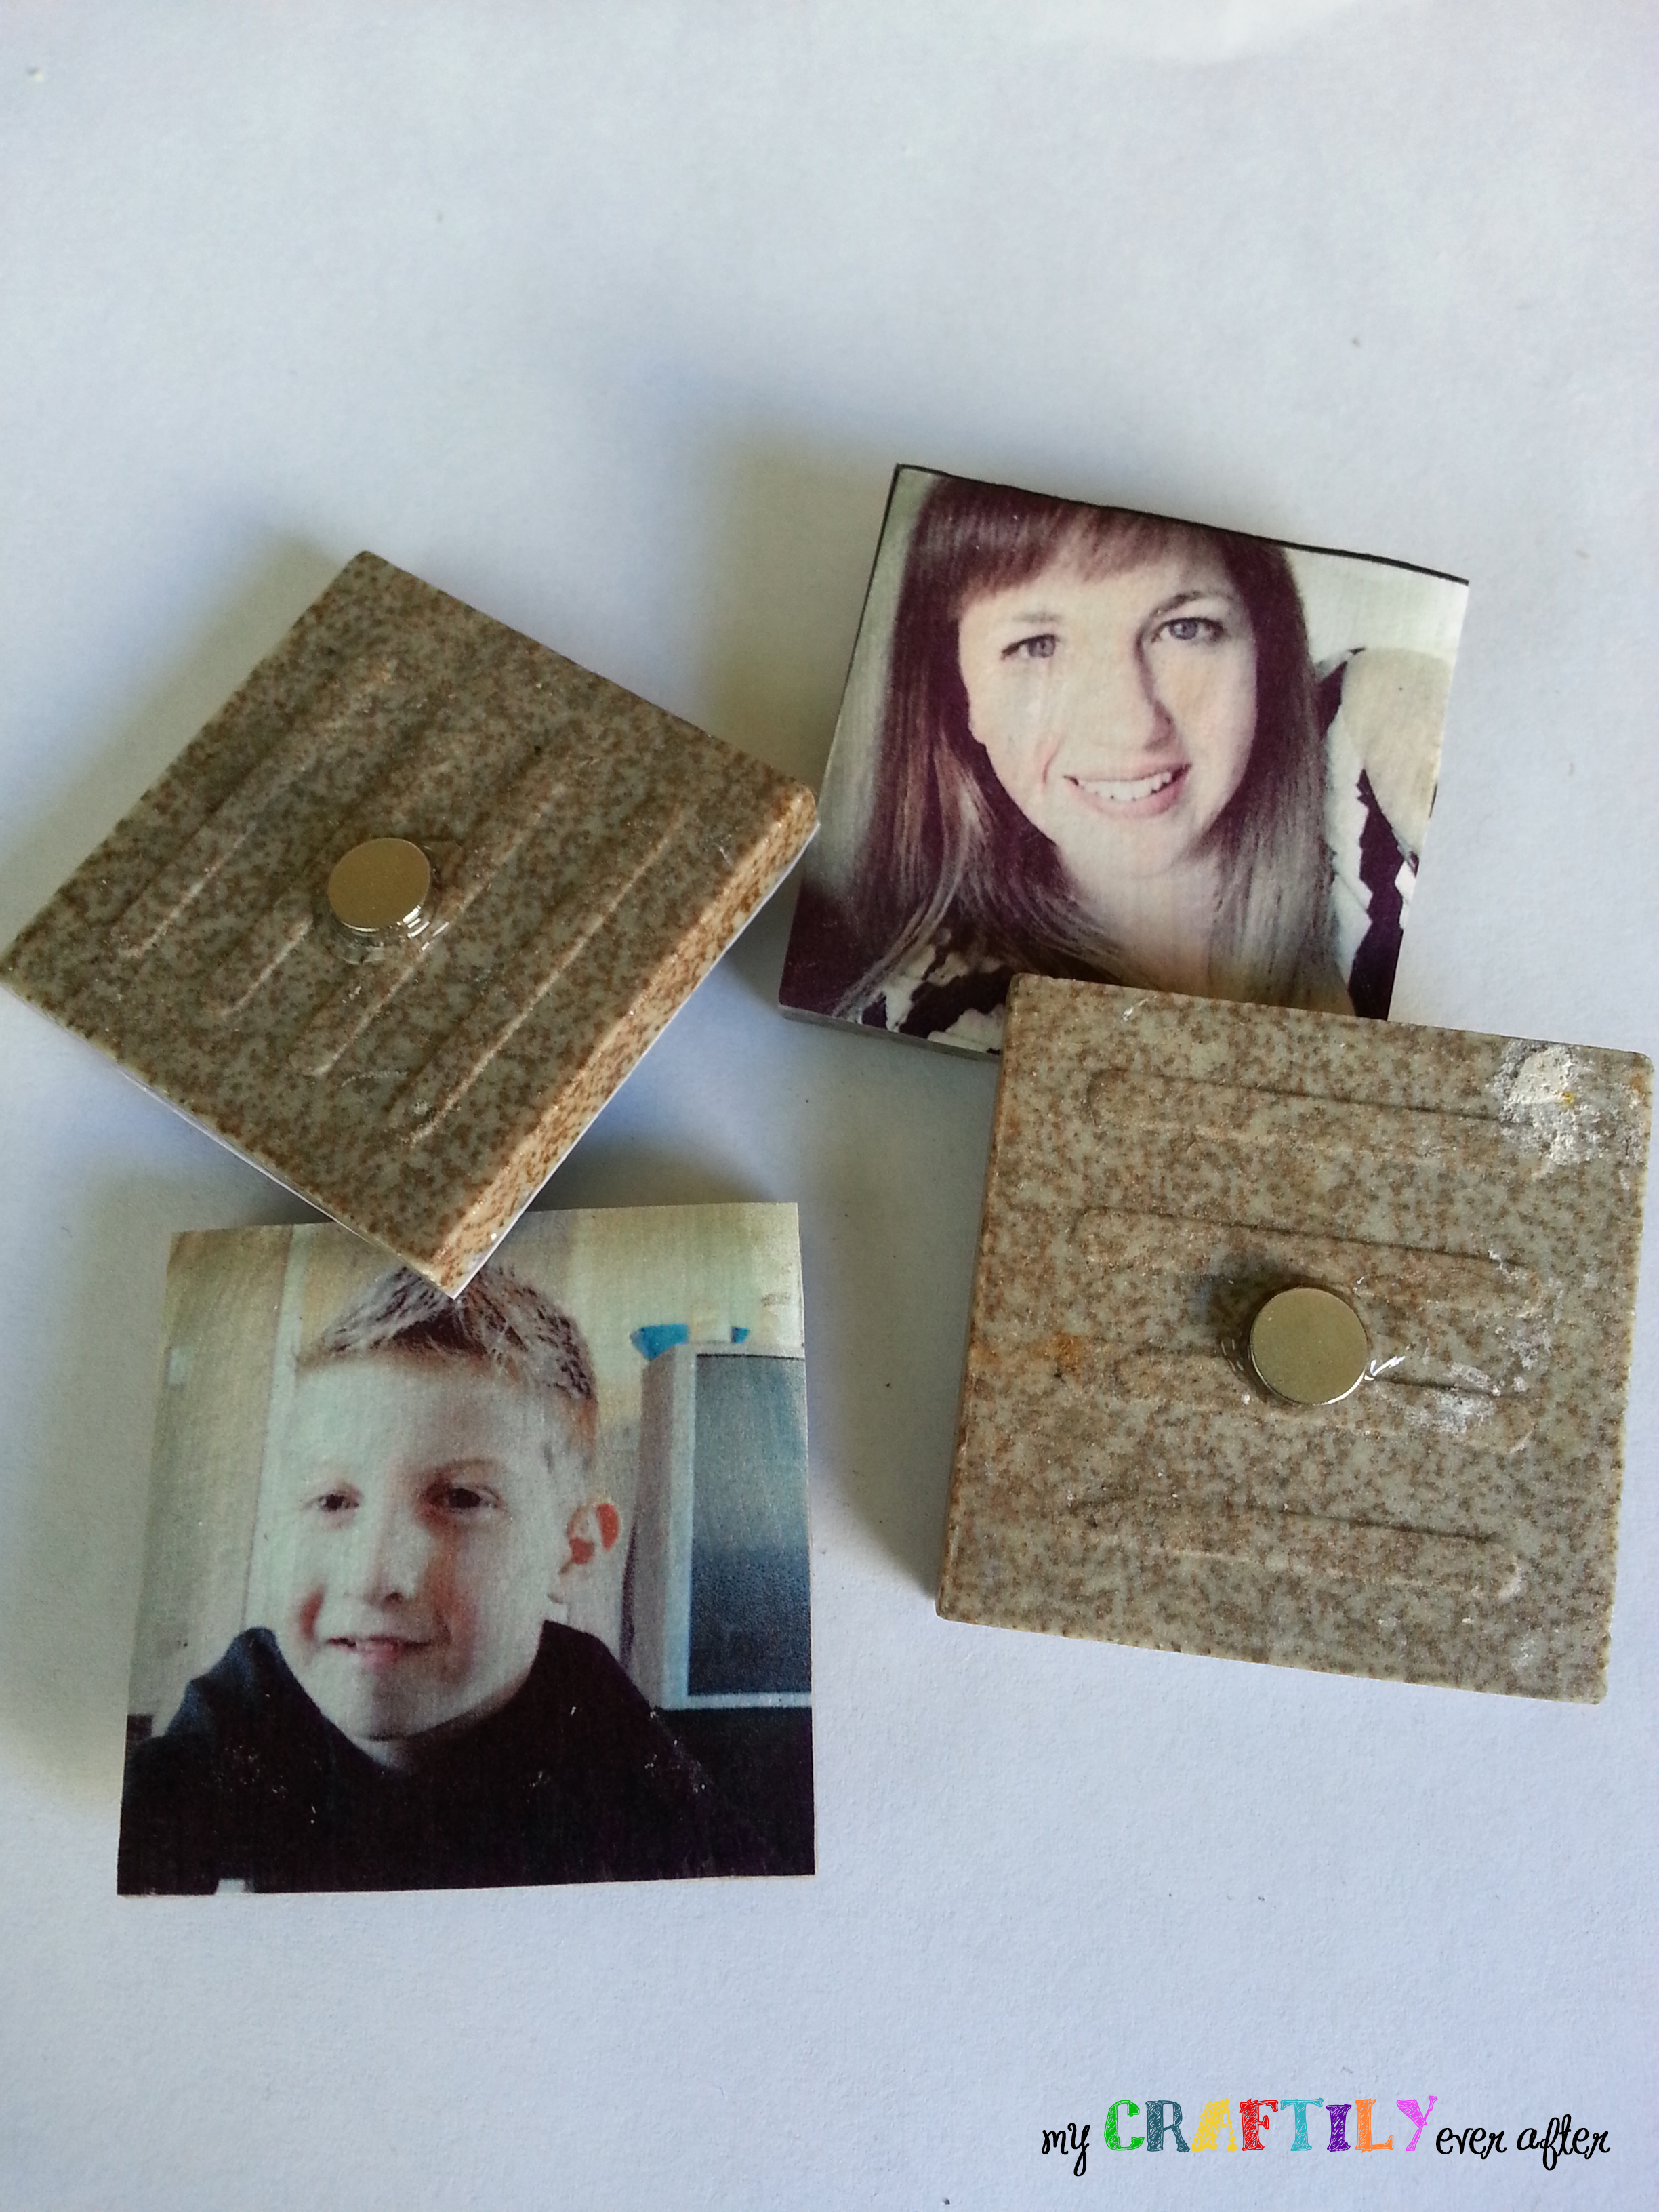
This is what the tiles will look like after the paper is mod podged onto them. Once the mod podge is dry you can trim off the excess with a regular pair of scissors and you are almost done!! Just affix your magnet to the back with some strong adhesive (I use E6000) and wait for it to dry.

I love these! This would be a fun way to use all those insta pictures! I would love if you would share this at my linking party http://www.fidlersunderoneroof.com/2013/06/fidlin-fridays.html
Thanks! My hubby loved them as well, total success!
These are so cute! What a fun idea…and easy! I’d love for you to come link this up at the Weekly Creative Link Party that just went live this morning!
Smiles, Melanie
Reasons To Skip The Housework
The Weekly Creative Link Party